
How to make Perfume Box
2025-06-04
Making a perfume box involves a combination of design, material selection, printing, and finishing techniques. Here’s a step-by-step guide on how to make a professional perfume box:
1. Design the Box
Size & Shape: Measure the perfume bottle (height, width, depth) and add 2–5 mm allowance.
Style Options:
Tuck-end box
Magnetic rigid box
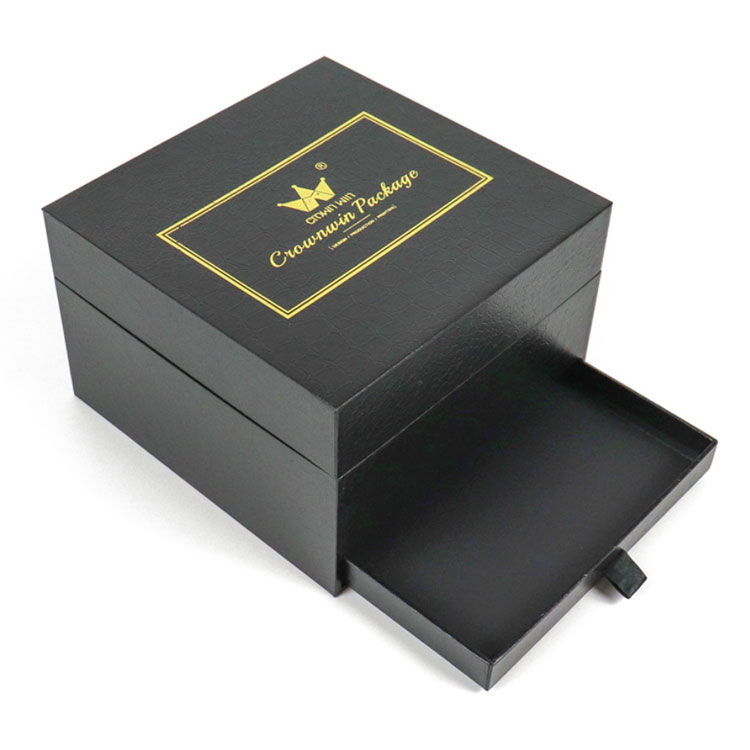
Drawer (sliding) box
Flip-top with magnet
Graphic Design: Use software like Adobe Illustrator to design:
Brand logo
Product name
Fragrance notes
Volume (e.g., 50ml)
Ingredients & barcode
Compliance symbols (e.g., flammable icon)
2. Choose Materials
Cardboard Types:
Duplex board (cost-effective)
Art paper + grayboard (premium rigid box)
Paper Thickness:
Folding carton: 250–350 gsm
Rigid box: 800–1200 gsm (wrapped with printed paper)
Eco Option: Recycled kraft paper or biodegradable board
3. Printing the Box
Printing Method:
Offset printing (for quality and detail)
Digital printing (for small batches)
Color Mode: CMYK for printing; add Pantone for accurate branding
Surface Finish Options:
Gloss or matte lamination
UV spot (to highlight logo)
Embossing or debossing
Foil stamping (gold, silver, etc.)
4. Die-Cutting & Assembly
Die-cutting: Create a cutting die to match your box template
Creasing & Folding: Pre-crease folding lines for clean folds
Glue/Assembly:
Folding cartons: Glue flaps
Rigid boxes: Wrap and assemble with inner support (EVA foam, paperboard, or velvet tray)
5. Add Inserts (Optional)
Use foam, cardboard, or velvet trays to hold the perfume bottle securely inside.
6. Quality Control
Check:
Alignment of printing
Sharpness of corners
Secure glue or magnetic closure
Bottle fixs well and does not shake
Bonus Tips:
For luxury branding, use hot stamping and embossed logos
Add QR codes for authentication or storytelling
Use eco-friendly inks and recyclable paper if sustainability matters
If you are interested in our products or have any questions, please feel free to contact us.